Area of Interest: Traditional knowledge
Skills: Listening, Reading, Speaking, and Writing
Competences: Discourse competence
Age Bracket: 6 – 10
Time Commitment: Over 60 minutes
Affordability: €
Materials:
Objects collected by the students, Images of local ecosystem factors (non-living + living), Optionally: a map of the region / Google maps, Ecosystem illustration + printed out worksheets
Expert recommendations:
Language: English
Step 1: Preparation
The teacher asks the students to bring 3 to 5 objects each (such as leaves, nuts, sticks, bark, water, animal hair, …) from the nature surrounding them. This can be their backyard or garden, their way to school, a local park, the forest or any destination close by in the region.
The teacher can also ask if any of them can bring a map of the region or provide it themselves (or plan to use Google maps).
Additional printed out pictures of local plant and animal species (biotic factors) as well as the key abiotic ecosystem factors (sun, water, soil, …) are useful.
Step 2: Introduction
This lesson can be held in [the minority language], but the teacher can also choose to only use certain terms in [the minority language] or translate key words together with the students (town, forest, lake, mountains, fields, …).
The students take out the objects and the teacher asks where they collected the items and whether they have ever visited nature areas around the region such as local parks, forests, lakes, mountains, etc. Together, the class can look at a map (or Google maps) of the region and locate the places that the students mention.
Step 3: Collecting materials and words
Each child shows and names the objects they have brought in [the minority language] (or any other language and the class translates the words together into [the minority language]).
The objects are collected and sorted according to categories (stones, soil, water, … = non-living; plants, animals, … = living) as preparation for Step 4 when the teacher will explain these categories. The names of the objects in [the minority language] are collected in a similarly organised way on the blackboard.
The teacher then shows the class pictures of ecosystem factors that the children were not able to collect and bring (animals, trees, the sun, …). The class names them in [the minority language] and adds the terms to the blackboard next to the images.
Step 4: Learning about the ecosystem
The teacher then explains how the objects and images the class collected are connected in the local ecosystem and defines this term: An ecosystem is a community of living and non-living things that interact with each other in a particular environment.
There are different kinds of ecosystems:
- Land-based (terrestrial) ecosystems include
- Forests
- Grasslands
- Deserts
- Tundra (ice landscapes)
- Water-based (aquatic) ecosystems include
- Salt water (marine) ecosystems
- Fresh water ecosystems (rivers, lakes, ponds, …)
Ecosystems can be very small, for example a puddle, and very big, for example a forest or the ocean.
The teacher asks the children which of these types of ecosystems exist in their own region and from which ecosystems(s) they collected their objects.
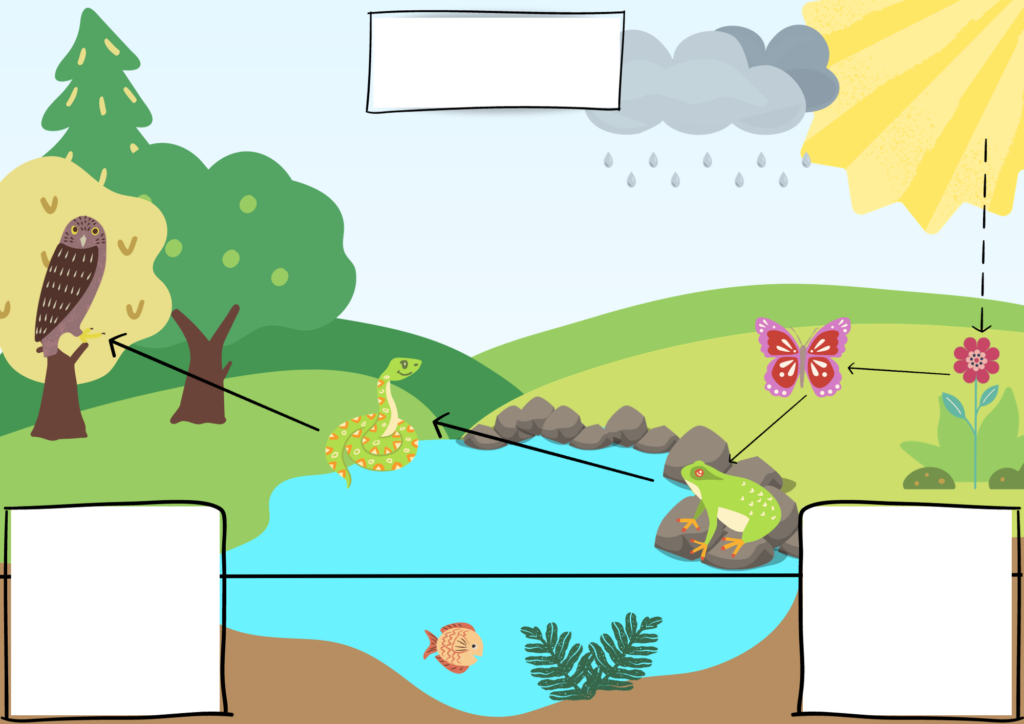
The teacher now shows the students the following illustration:
The teacher explains that the objects depicted in the illustration (which also represent the items the students brought) fall into two categories:
- Living organisms such as plants or animals (biotic factors)
- Non-living things such as the sun, air, water and soil (abiotic factors)
Bios means ‘life’.
In an ecosystem, everything is interconnected, that means all things have relationships with each other. An example for these relationships are food chains:

Food chains show how energy is passed from one inhabitant to the next in an ecosystem. Plants are the first step in a food chain. Plants are then eaten by plant-eaters (herbivores) such as a caterpillar. The caterpillar is eaten again by a bird (a carnivore). Smaller birds are eventually eaten by bigger carnivores: in an ecosystem like a forest that is often a bird of prey, for example an owl.
Every food chain begins with a producer (plant) that creates energy from the sun. The animals that eat plants and other animals are called consumers.
Step 5: The assignment
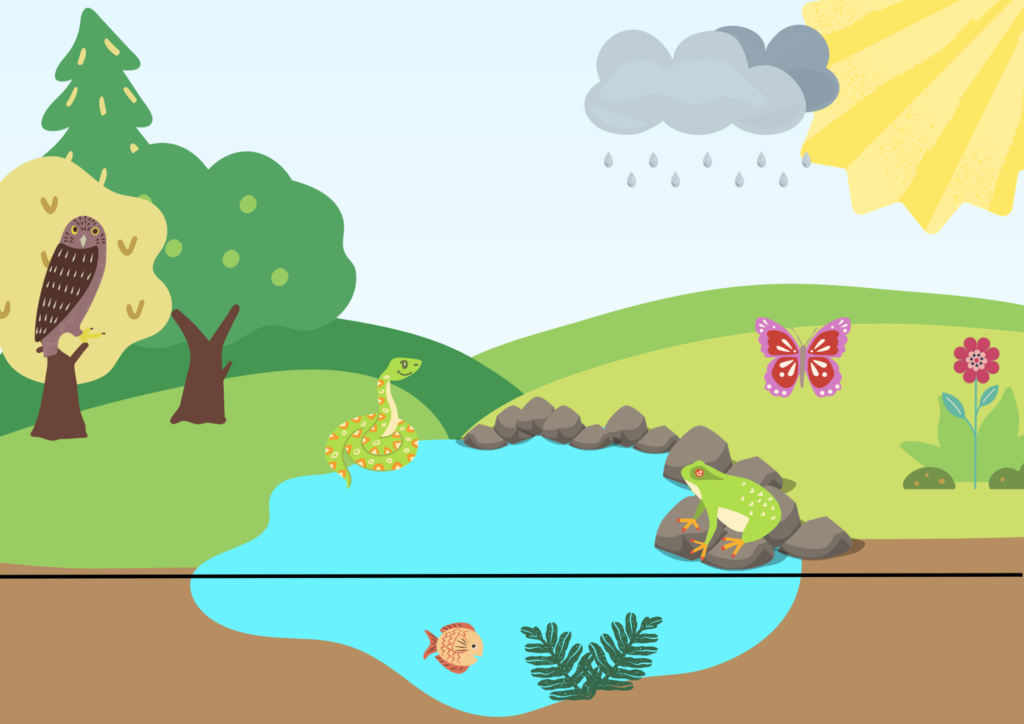
The students now work in pairs or small groups. Each student receives a worksheet.
The teacher asks the students to add the new words in [the minority language] that the pupils had collected on the blackboard to the worksheet, e.g. including:
- Sun, air, rain, water, plant, grass, tree, bush, flower, rock, soil
- Animal, bird, fish
In a second step, the students should:
- Fill in the title: ecosystem
- Label two non-living things and two living things
- Label two producers and two consumers
- Label a herbivore and a carnivore
Thirdly, the students can use the white boxes in the bottom corners of the worksheet to note down the names of 1) plant species and 2) animals from their own region that the class had collected on the blackboard earlier in [the minority language].
Step 6: Closing the lesson
Discuss the worksheet results of the pupils and the importance of ecosystems. In every ecosystem, every inhabitant has its role and niche – if two have the same role, one must leave or become extinct. This is a fragile balance and if it is disturbed, problems arise.